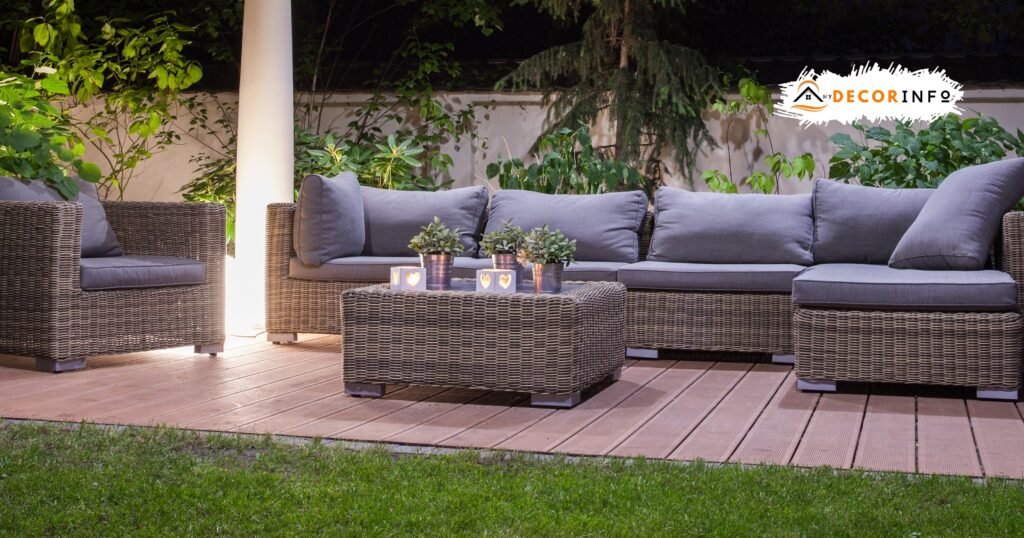
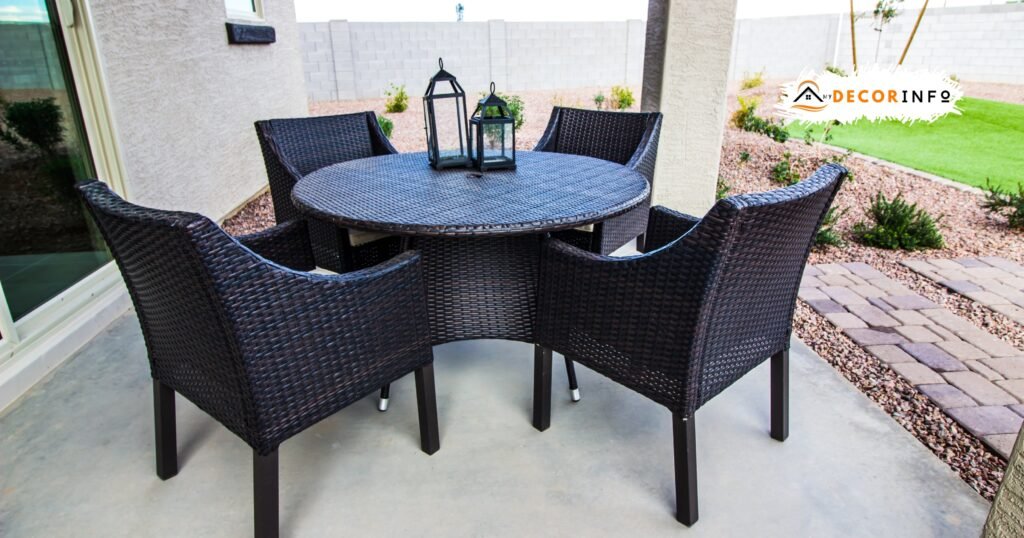
How To Repair Wicker Patio Furniture? Utilize wood glue for repair. Place a drop or two of wood glue on the underside of any loose ends protruding out. Gently reposition them back into the wicker.
If you’ve noticed some wear and tear on your favorite outdoor pieces, don’t worry. This guide will show you how to repair wicker patio furniture easily. You can bring your beloved furniture back to life with just a few basic tools and simple steps.
Wicker furniture adds a special touch to outdoor spaces, creating a cozy and inviting atmosphere. However, exposure to the elements and regular use can lead to small damages. That’s where our guide comes in. Following these straightforward steps, you’ll learn how to inspect, clean, and easily fix your wicker furniture.
Steps To Repair Wicker Patio Furniture
Let’s dive into the simple steps to get your wicker furniture looking new.
These easy-to-follow methods provide information about repairing wicker patio furniture and are ideal for any beginner.
No need for complex toolkits or jargon.
Just a few basic tools, and you’re good to go!
Materials You’ll Need
- A soft-bristled brush
- A bucket of warm water
- Mild dish soap
- Clear wood glue or a hot glue gun
- Replacement reeds (if necessary)
- Scissors
- A pair of protective gloves
- Clear varnish or paint (optional)

Steps To Repair Wicker Patio Furniture
Begin by thoroughly inspecting your wicker furniture. Identify damaged or loose areas that need attention.
1. Clean The Furniture
The first step in repairing your wicker furniture is to clean it.
Mix a little mild dish soap with warm water in a bucket.
Then, put on your gloves and use the soft-bristled brush to scrub the furniture gently.
This step removes dirt and dust that can hide damages, giving you a clear view of the areas that need repair.
2. Remove Loose Reeds
After cleaning, look for loose or broken reeds.
Wear gloves and use your fingers to remove them carefully.
Be gentle to avoid causing more damage.
Removing these loose parts makes your furniture safer and prepares it for the next repair steps.
3. Apply Glue On Ends
How To Repair Wicker Patio Furniture? The next step is to apply glue.
Take your clear wood glue or hot glue gun and apply some glue to the ends of the loose or broken reeds.
If you have replacement reeds, glue their ends too.
This helps to stick them firmly and prevents them from coming loose.
Let the glue dry completely before moving on to the next step.
4. Replace Damaged Reeds
Next, use scissors to cut the new reeds to the right size.
Then, fit them in the empty spots where the old reeds were.
Using the glue, stick these new reeds into place.
Make sure they’re secure.
Wait for the glue to dry.
With this step, you’re fixing the gaps and improving the look of your furniture.

5. Allow The Glue To Dry
After the glue dries, check the furniture again.
Make sure everything is firm and in place.
Remember to be gentle while checking.
Now, your wicker furniture is ready.
6. Trim Excess Reeds
Lastly, carefully trim any excess reeds sticking out from your furniture.
Use a pair of sharp scissors for this.
This step ensures that your wicker furniture looks neat and well-maintained.
Avoid cutting off too much.
Now, your wicker furniture is repaired.
It should look fresh and be safe to use.
7. Check All Repairs
After all the steps, carefully examine your repaired wicker furniture.
Ensure all the reeds are firm and have no loose ends.
The furniture should look clean and new.
If you find any problems, repeat the steps.
Good maintenance will help your furniture last longer.

8. Clean It Again
Finally, give your repaired wicker furniture a good, thorough clean.
Use a dry cloth to dust it off first.
Then, scrub it gently using a mild soap and warm water mixture.
Always avoid direct sunlight, which can fade the wicker.
Congratulations! You’ve successfully repaired and cleaned your wicker furniture.
9. Apply Varnish Or Paint
To finish your project, it’s time to apply varnish or paint.
This not only enhances its look but also shields it from damage.
Choose a dry, warm day for this task.
Apply a thin layer of varnish or paint evenly.
Let it dry fully.
Now, your beautifully restored wicker furniture is ready for use.
Maintenance Tips for Wicker Patio Furniture
- Clean your wicker furniture regularly to prevent the accumulation of dust and grime. Use a soft cloth and a mild soap-water mixture for cleaning. Never use harsh chemicals as they might damage the wicker.
- Try to keep your wicker furniture dry as much as possible. Though the varnish or paint provides a level of protection, consistent exposure to water can still harm the furniture.
- Store your wicker furniture in a dry, cool place away from direct sunlight when not in use.
- Every few years, consider reapplying a coat of varnish or paint to protect the wicker from potential damage and keep it looking fresh.
- Regularly check for any loose ends or frayed wicker. If you find any, trim them promptly to avoid damaging the furniture further.
- Using furniture covers can help protect your wicker furniture from weather elements, prolonging its lifespan.
- Avoid dragging your wicker furniture when moving it around. This could loosen the weave or break reeds. Always lift it to relocate.
- If you notice mold or mildew growth on your wicker furniture, gently clean it with water and vinegar.
Conclusion
How to repair wicker patio furniture is a simple yet rewarding task. Basic tools and materials allow you to breathe new life into your worn-out furniture. The key is to be mindful in each step, from cleaning and repairing to painting or varnishing. Remember, this process is not just about enhancing the look of the furniture. It’s more about protecting it and extending its life. Regular maintenance is crucial in this regard. Keep it clean, dry, and shielded from harsh weather. Check and fix any loose ends promptly, and consider re-coating with varnish or paint every few years. By following these straightforward steps, you can ensure that your wicker furniture stays beautiful and durable for a long time.
FAQs
How do you repair wicker patio furniture?
To repair wicker patio furniture, first clean it gently with soap and water. If there are broken reeds, remove and replace them with new ones. You can weave the new reeds in the same pattern as the existing weave. For loose ends, use glue to secure them. Lastly, apply a fresh coat of paint or varnish to protect the furniture from weather damage. Regular care and maintenance can keep your wicker furniture looking good for many years.
What tools do I need to repair wicker patio furniture?
To fix wicker patio furniture, you’ll need some basic tools. These include a pair of sharp scissors for cutting reeds, some heavy-duty glue to secure loose ends, new reeds for replacements, and a small brush for applying glue. If you plan to paint or varnish, you’ll also need a paintbrush and your chosen paint or varnish.
What is the best glue for wicker furniture?
The best glue for wicker furniture is a strong polyvinyl acetate (PVA) glue, also known as carpenters or wood glue. It’s great for securing loose ends and fixing broken reeds. PVA glue dries clear and creates a strong bond, which is necessary for holding together the woven parts of the wicker.
How do I fix broken or damaged wicker strands?
First, remove the damaged piece by cutting it out to fix broken wicker strands. Then, soak your new wicker strand in warm water to make it flexible. Apply wood glue on the ends and insert it into the gaps left by the old piece. Use a tool or your hand to push it in place. Let it dry fully before you use the furniture again.
Where can I find replacement wicker strands or pieces?
Replacement wicker strands or pieces are available at local craft stores or online marketplaces like Amazon and eBay. Always check the measurements and color of your current wicker furniture to match it. You can also find a variety of these in specialty stores that deal with wicker or outdoor furniture. Remember to buy some extra pieces for future use.
Can I repair wicker furniture if I have no prior experience?
You can repair wicker furniture even without prior experience. The process involves simple steps that anyone can follow. You need basic tools and materials like scissors, glue, and new reeds. Carefully follow the instructions, take your time, and maintain safety. It might seem challenging initially, but you’ll get better with practice.
